Sending Laravel Task Messages to a Python Celery Worker
Do you have a Laravel app or API, but want to run some type of advanced statistical analysis or machine learning algorithms on your application data? Python has many more options and built in libraries for developing machine learning tools, so it may be helpful to set up a distributed system in which you can use your existing PHP application in tandem with message queue driven Python analytics workers. This post will help you set up a Python worker using Celery and Redis and dispatch jobs from your Laravel application to it.
If you’re going to follow along with the code samples I’m providing, you can download them from my Github. I’m using Docker for my local development environments, so I recommend you install it first. If you haven’t used Docker before - try it! It makes local development so much easier, regardless of your preferred OS.
Set up your Laravel app
The first step in connecting a Laravel app or API to a Python Celery worker is to have a working Laravel project. If you already have something you’re working from you can skip this section and go to the Laravel Celery setup.
First clone my Laravel app Github repository.
Then execute the following commands from the root of the cloned folder:
composer install
docker-compose up -d
cp .env.example .env
docker-compose run artisan migrate:install
docker-compose run artisan migrate
The docker installation (docker-compose.yml) will set up a number of containers, including a MySQL container and a Redis container:
...
mysql:
image: mysql:5.7
ports:
- "3306:3306"
environment:
MYSQL_ROOT_PASSWORD: root
MYSQL_USER: blog
MYSQL_PASSWORD: blog
MYSQL_DATABASE: blog
volumes:
- mysql:/var/lib/mysql
redis:
image: redis
ports:
- "6379:6379"
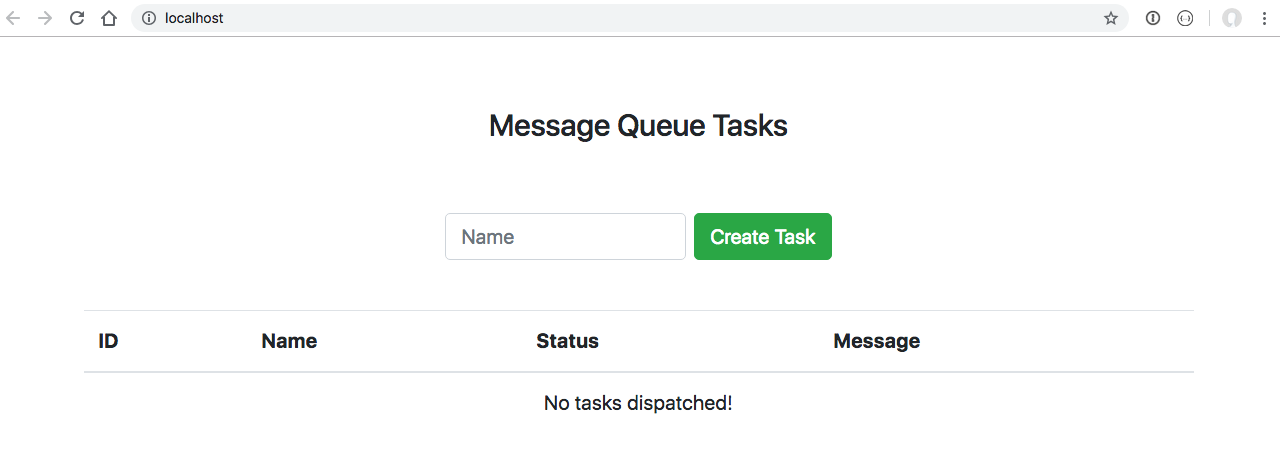
...You should then be able to go to your web browser and load http://localhost. You should see a page that looks similar to this:
The application
The application is a very basic one, using Laravel 5.7. Running docker-compose run artisan migrate will have executed
one database migration: 2018_09_28_002236_tasks_table.php. The migration created a new database table tasks:
CREATE TABLE `tasks` (
  `id` int(10) unsigned NOT NULL AUTO_INCREMENT,
  `name` varchar(255) COLLATE utf8mb4_unicode_ci NOT NULL,
  `status` varchar(255) COLLATE utf8mb4_unicode_ci NOT NULL DEFAULT 'pending',
  `message` varchar(255) COLLATE utf8mb4_unicode_ci DEFAULT NULL,
  `created_at` timestamp NULL DEFAULT NULL,
  `updated_at` timestamp NULL DEFAULT NULL,
  PRIMARY KEY (`id`)
) ENGINE=InnoDB DEFAULT CHARSET=utf8mb4 COLLATE=utf8mb4_unicode_ci;
We will use this table to create task messages for the Celery worker to run. Keep in mind that the Celery worker doesn’t actually read the tasks from this table - that’s what the Redis message queue is used for. The database is just being used in this blog post to show that both systems can connect to a shared database instance.
Initially the table is empty, which the listing on http://localhost has shown.
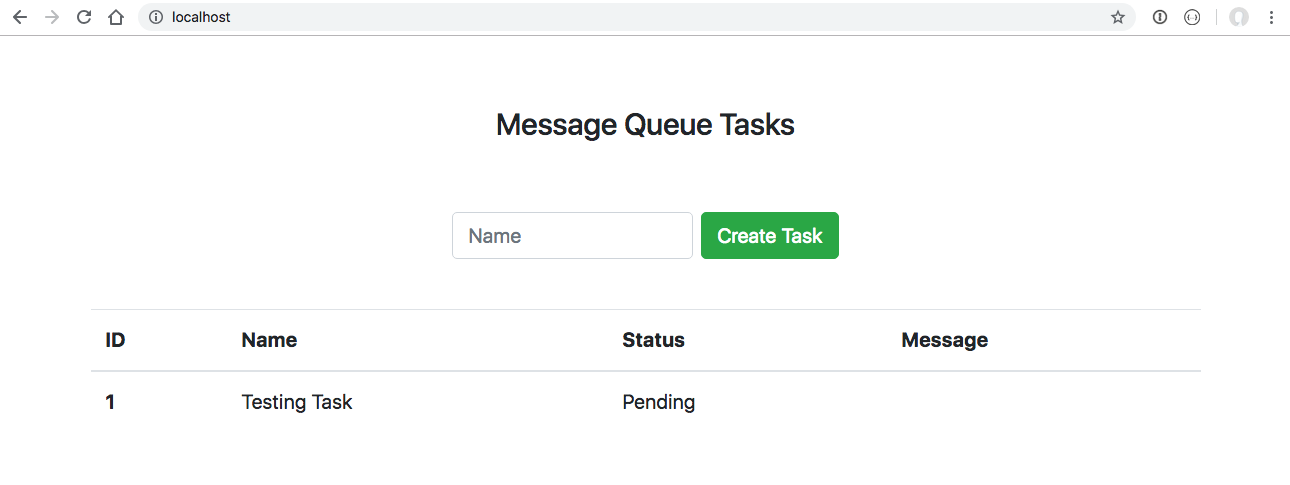
Try creating a new task by entering a name in the text box and clicking the “Create Task” button. You should see a new row in the table with the name you just entered and the status “Pending”. As we haven’t set up the worker yet, the task will not change to a completed state:
Installing Celery libraries in the Laravel application
If you are using my test application, you will already have all of the required Celery packages installed through composer. I will walk you through each of them.
To dispatch messages to the Celery Task Queue, we will be using the massivescale/celery-php packagist project. To install, run:
composer require massivescale/celery-phpFor this application, I am using Redis as the message broker. Celery supports a number of other brokers, as explained in their Getting Started Guide.
We need PHP to be able to interact with Redis, so install the predis package as well:
composer require predis/predisCelery task dispatching
To dispatch a Celery task from the PHP application, you first have to create a Celery client, as I did in App\Jobs\AbstractCeleryTaskJob:
<?php

namespace App\Jobs;

use Celery;

abstract class AbstractCeleryTaskJob implements ICeleryTaskJob
{
    /**
     * @var Celery
     */
    private $client;

    /**
     * Get the Celery client for connecting to the queue
     *
     * @return Celery
     */
    private function getClient(): Celery
    {
        if (!$this->client) {

            //load the celery client with set configuration
            $this->client = new Celery(
                config('celery.host'),
                config('celery.user'),
                config('celery.password'),
                config('celery.vhost'),
                config('celery.exchange'),
                config('celery.binding'),
                config('celery.port'),
                config('celery.connector'),
                config('celery.persistent_messages'),
                config('celery.result_expire'),
                config('celery.ssl_options')
            );
        }

        return $this->client;
    }

    ...
The config values for connecting are set up in config/celery.php. This assumes that Redis is running on port 6379:
return [
    'host'                => 'redis',
    'user'                => null,
    'password'            => null,
    'vhost'               => 0,
    'exchange'            => 'celery',
    'binding'             => 'celery',
    'port'                => 6379,
    'connector'           => 'redis',
    'persistent_messages' => false,
    'result_expire'       => 0,
    'sslOptions'          => [],
];
To send a task, use the Celery method PostTask, which takes the parameters $taskName and any $args to pass as the
message payload:
    ...

    /**
     * Send the job to the celery task queue
     *
     * @param       $taskName
     * @param array $args
     *
     * @throws \CeleryException
     * @throws \CeleryPublishException
     *
     * @return \AsyncResult
     */
    protected function send($taskName, array $args = []): \AsyncResult
    {
        $client = $this->getClient();

        return $client->PostTask($taskName, $args);
    }

    ...
The details of how messages are sent in this test application will be covered below, once the Python worker is ready.
Set up your Celery worker
The next step is to set up the Python Celery worker so that any dispatched messages can be acted upon from the Redis queue.
This will be done again using Docker.
First clone my Python Celery worker Github repository.
Then execute the following commands from the root of the cloned folder:
docker-compose upThe docker installation (docker-compose.yml) will set up an run a single Python
container with a number of PIP packages installed (celery[redis], pymysql, python-dotenv and sqlalchemy). The
container is linked using docker external_links to the Redis and MySQL containers created in the Laravel app above. Make
sure you have the container names correct, or else the Celery worker will not be able to connect to the Redis queue:
  ...

  python:
    build: ./docker/python
    volumes_from:
      - data
    external_links:
      - laravelapp_mysql_1
      - laravelapp_redis_1:redis
    entrypoint: "celery -A python_celery_worker worker --concurrency=2 --loglevel=debug"
When the container is successfully started, you should see streaming console messages that look similar to this:
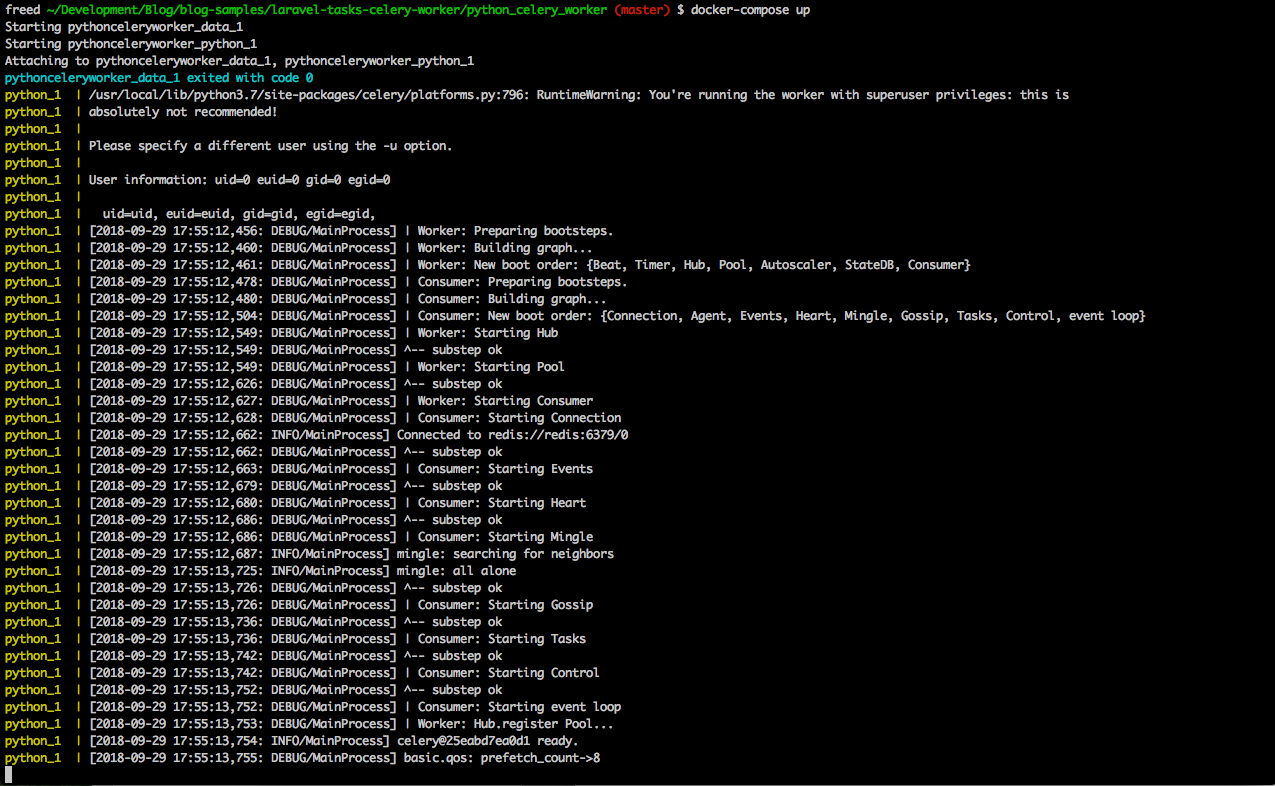
If you created a test task above - you may even see the processed message as the worker immediately reads it from the Redis queue!
Celery worker application
The Celery worker is also a very simple application, which I will walk through now.
The entrypoint, as defined in docker-compose.yml is celery -A python_celery_worker worker --concurrency=2 --loglevel=debug.
This starts 2 copies of the worker so that multiple tasks on the queue can be processed at once, if needed.
The file executed by this command is python_celery_worker/celery.py:
from __future__ import absolute_import
from python_celery_worker import settings
from celery import Celery

app = Celery(
    'python_celery_worker',
    broker=settings.WORKER_BROKER,
    backend=settings.WORKER_BACKEND,
    include=['python_celery_worker.tasks']
)
This file initializes the Celery worker, using the broker and backend configured in python_celery_worker/settings.py - in our
case, Redis.
As directed, Celery loads any tasks configured in python_celery_worker/tasks.py:
from __future__ import absolute_import
from python_celery_worker import logging
from python_celery_worker.celery import app
from python_celery_worker.services import db_tasks

log = logging.getLogger(__name__)


@app.task(name="task_created", bind=True, default_retry_delay=10)  # set a retry delay, 10 equal to 10s
def task_created(self, task_id):
    try:
        db_tasks.update_task(task_id)

        log.info('Updated task %s in database', task_id)
    except Exception as exc:
        raise self.retry(exc=exc)

    return True
As you can see, the defined task name task_created matches the name of the task dispatched in the Laravel TaskCreatedJob
class:
<?php

namespace App\Jobs;

class TaskCreatedJob extends AbstractCeleryTaskJob
{
    /**
     * Dispatch the task created job
     *
     * @param $id
     *
     * @return \AsyncResult
     */
    public function dispatch($id): \AsyncResult
    {
        return $this->send('task_created', [$id]);
    }
}
When the Celery worker receives a task message to process on the Redis queue, it executes the function task_created
with the message payload provided. In the case of this application, the database is updated to set a status and message
for the provided task ID:
from python_celery_worker.services.db import db_engine
def update_task(id):
"""
Update the task status in the database
:param id:
:return:
"""
conn = db_engine.connect()
conn.execute(
'update tasks set status = %s, message = %s, updated_at = NOW() where id = %s',
'completed',
'Updated by celery worker!',
id
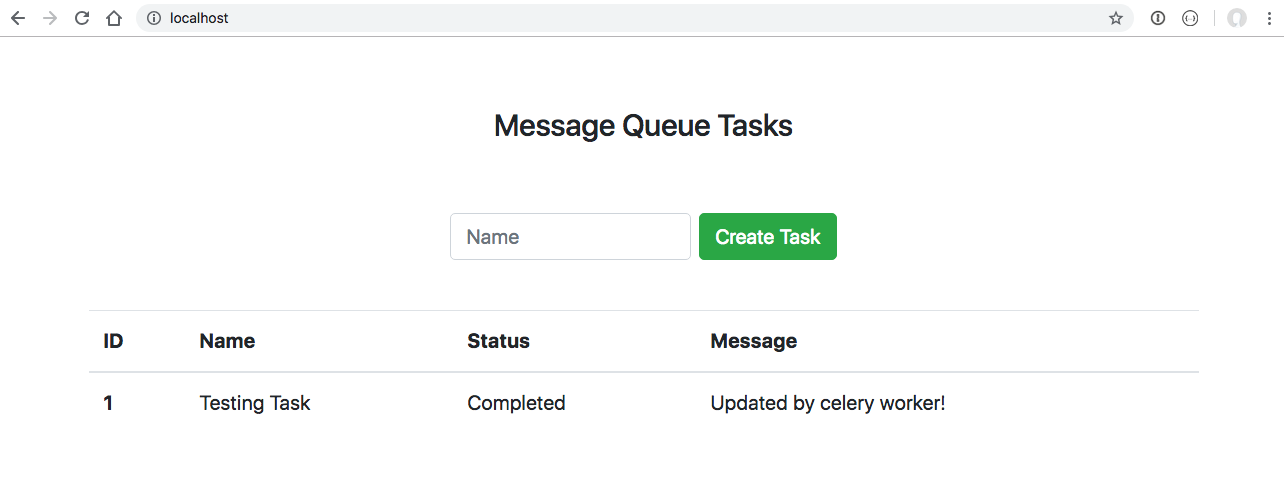
)Now that you have both parts set up and running - try creating another task! You should see that the status was updated in the application, and you should also see log messages in the Celery docker container indicating the same:

You are now free to extend the Python worker to do any types of data processing tasks you need for your usecase, without having to integrate the functionality into your existing Laravel application.